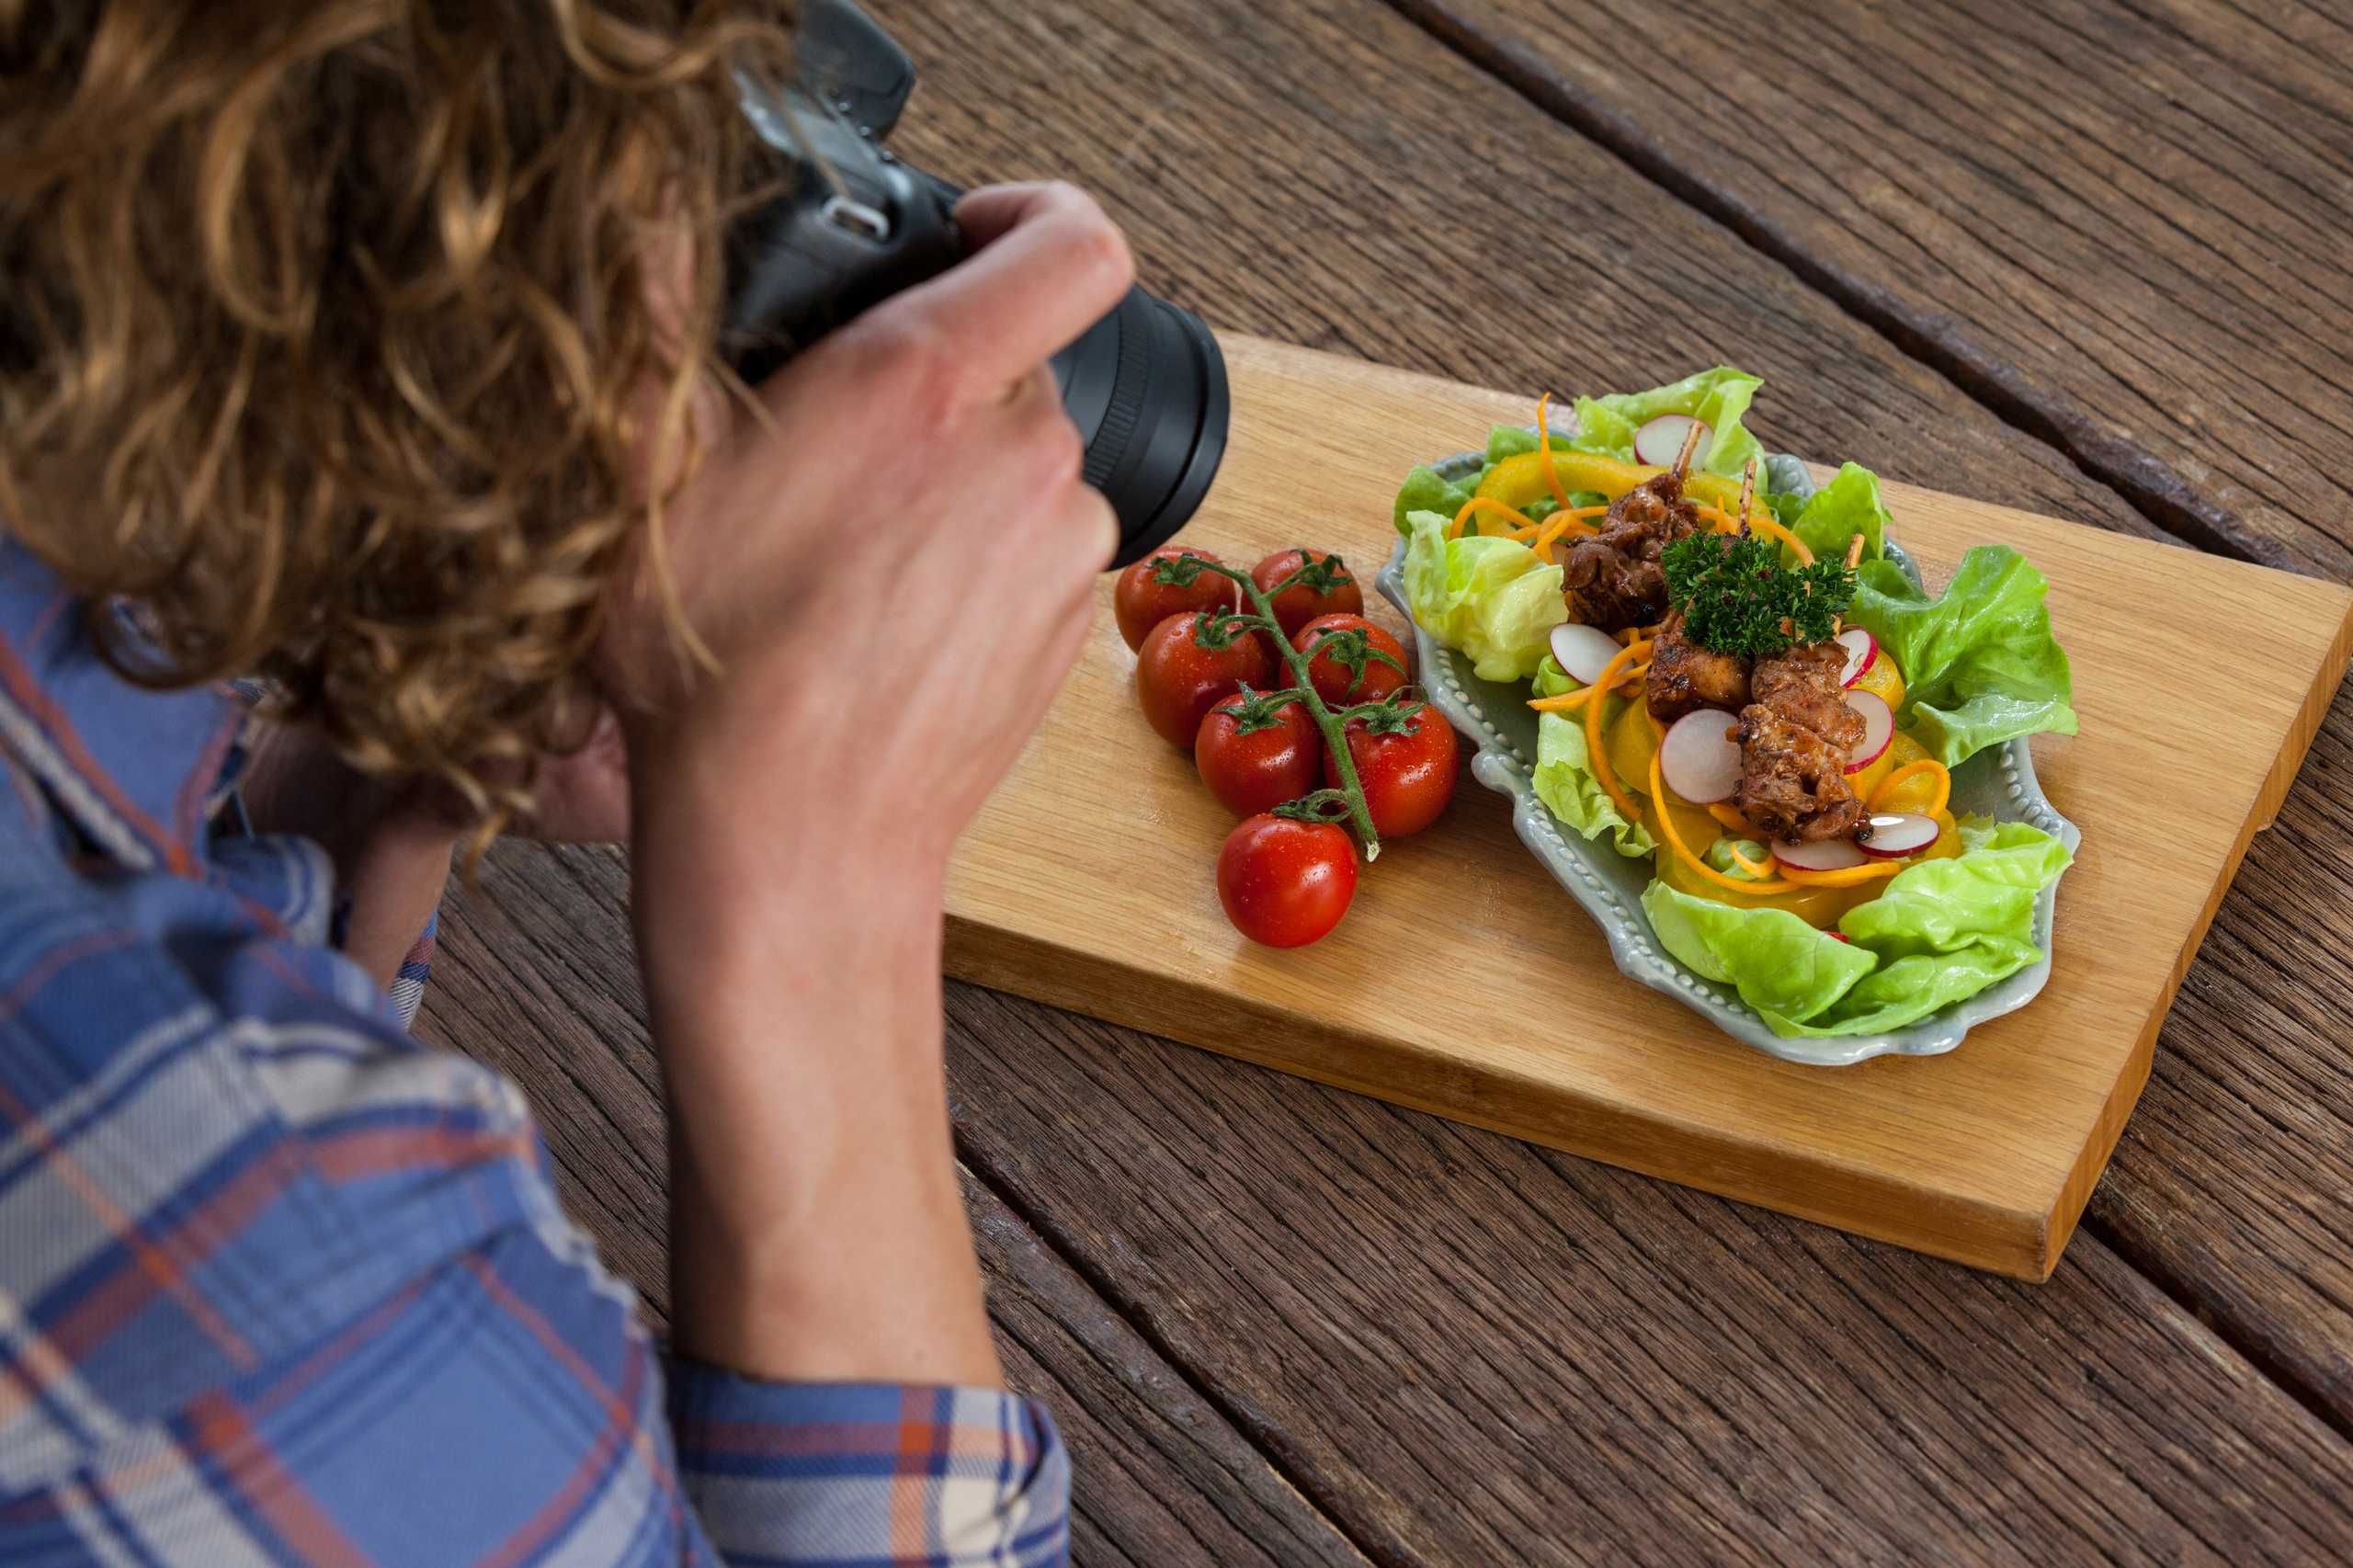
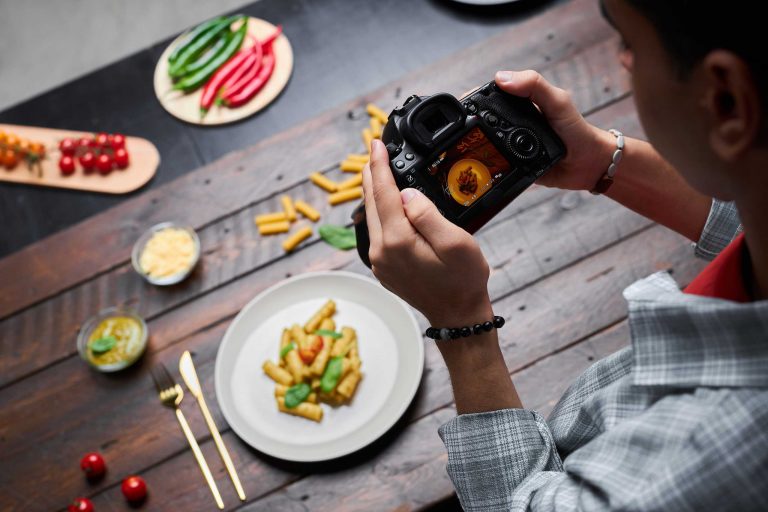
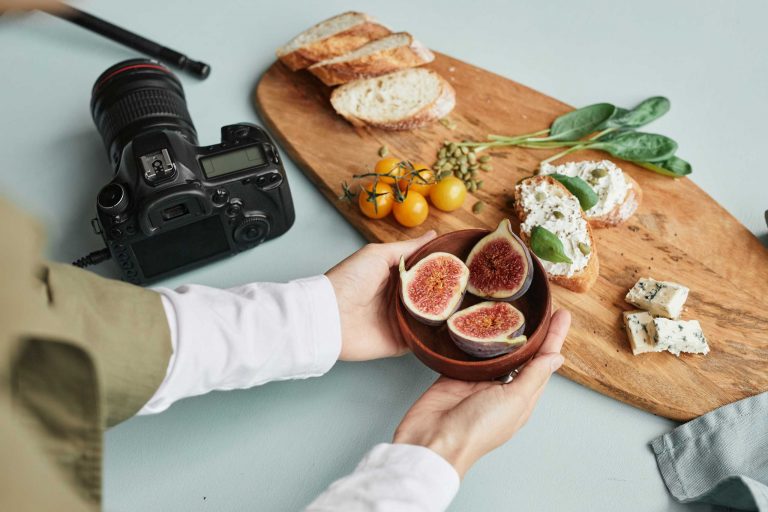
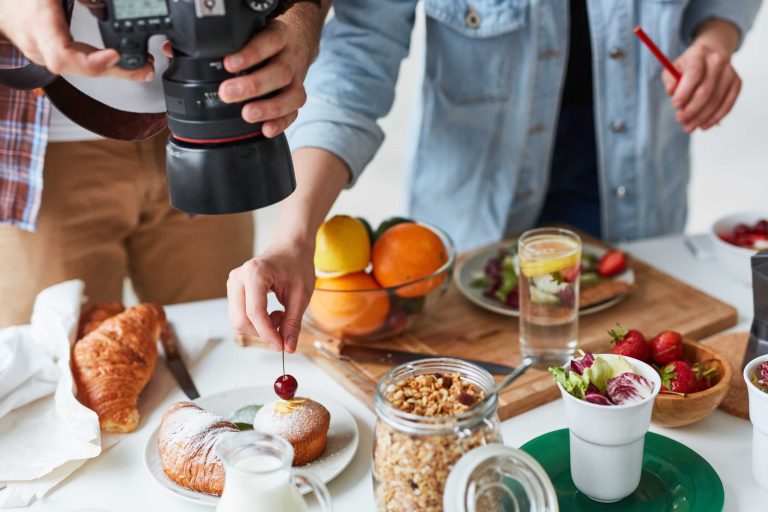
Lighting is one of the most powerful and transformative tools in food photography. It not only reveals the colors and shapes of the dish but also sets the entire mood and atmosphere of your image. Whether you’re photographing in a professional studio with sophisticated lighting setups or using natural window light in your own kitchen, a deep understanding of light can elevate your food photos from simple snapshots to compelling works of art.
When you start thinking about lighting, consider the story you want your photo to tell. Food photography is not just about showing what’s on the plate, but evoking an emotion or experience — the freshness of a garden salad, the warmth of a homemade pie, or the rustic charm of a charred steak.
Here are the key elements of lighting every food photographer should know:
- Direction of Light:
The direction from which light hits your subject affects shadows and highlights, which in turn create depth and texture.- Side Lighting: Often preferred in food photography because it enhances texture, giving the food a three-dimensional look.
- Backlighting: Creates a glowing effect, especially effective with translucent foods like soups or drinks.
- Front Lighting: Softens shadows but can flatten texture, sometimes useful for very detailed shots.
- Top Lighting: Can create dramatic shadows and is often used for overhead flat-lays.
- Quality of Light:
The softness or hardness of light changes the mood dramatically.- Soft Light: Comes from large light sources or diffusers, producing gentle shadows and a natural feel. It’s ideal for light, airy images like pastries or salads.
- Hard Light: Comes from small, direct sources creating sharp, defined shadows. This style is perfect for adding drama or emphasizing texture in grilled or roasted foods.
- Color Temperature:
Light’s color temperature determines the warmth or coolness of your photo.- Warm Light: Adds a cozy, inviting feel. Think golden-hour sunlight or warm kitchen lamps.
- Cool Light: Suggests freshness and crispness, great for seafood or chilled dishes.
To truly master lighting, consider these practical tips:
- Use Reflectors and Diffusers:
Reflectors bounce light back onto the subject, filling in shadows and softening contrast. A simple white card or foam board works wonders. Diffusers, such as sheer fabric or paper, soften harsh sunlight or artificial light. - Control Shadows Thoughtfully:
Shadows add depth but can also distract if too harsh or misplaced. Move your light source or subject slightly to shape the shadows exactly how you want. - Experiment with Natural Light:
The angle and quality of sunlight change throughout the day. Morning and late afternoon light tend to be softer and warmer, while midday light is stronger and cooler. Use this to your advantage. - Create Mood with Artificial Lighting:
If you’re shooting indoors without good natural light, use softboxes, LED panels, or even desk lamps. Play with gels or colored bulbs for creative effects.
For example, if you want to highlight the flaky layers of a croissant, side lighting with moderate softness brings out the delicate texture without harsh shadows. For a shiny sauce or glaze, slight reflections from a harder light source make the food look glossy and appetizing.
Remember, lighting is not just technical — it’s your creative partner. Every dish tells a different story, and light helps you express that story visually. By practicing and experimenting regularly, you’ll develop an instinct for how to use light to its fullest potential.
The journey to mastering lighting in food photography is ongoing, but each step you take brings you closer to crafting images that not only look delicious but also feel alive and inviting.


